Sunday, June 24, 2012

DIY Sew: Striped Pencil Skirt

Here's a more detailed version on how to make the knit mini:

Materials:
1 yd knit fabric
Matching thread
Sewing machine
measuring tape
pins
scissors

With good sides of fabric touching I traced an old pencil skirt


The measurements ended up being 18" wide by 19" tall; in order to achieve the waist I measured two inches in on each side of the width and marked, from there I measured 9 1/2" down and marked, using a ruler I matched the dots. Then pin and cut


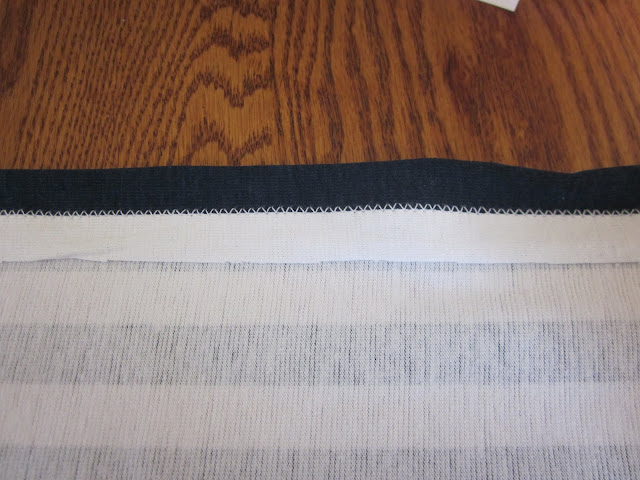
Fold down the top 1 1/2 inches on both pieces of fabric, pin and sew using a zigzag stitch


create darts to the back piece of fabric only; to do this measure the waist band, and cut the measurement in half, measure this out and mark (this should be the exact middle); next measure 2 1/2" from the center on each side and mark, from here measure another 1" and mark; next in the middle of your inch mark and measure down 5 1/2" down, mark; connect the dots


pin the darts


sew with a straight stitch


pin and sew up the sides


hem to desired length, by folding up and pinning


The skirt in action!


Sunday, June 17, 2012

DIY Sew: Maxi Skirt

Yesterday I attempted my very first maxi skirt, it seemed like a simple enough project but I had no idea what the measurements should be. Luckily last weekend I came across a maxi at the loft, and I thought the easiest way to recreate one was to learn the construction.

Here's what you'll need:

2 yards of knit fabric
matching thread (unfortunately I was out of luck here!)
1 inch elastic
pins
Scissors
measuring tape
Sewing Machine
Skirt (for tracing)

FIrst fold your fabric in half and lay it out; place a skirt over your fabric, and trace around the skirt


Pin up both sides of the skirt and sew using a zig zag stitch


Fold the top of the skirt down an inch and a half, pin all around


Sew all the way around but leave an inch and half open
Next measure your waist and cut the elastic to that measurement plus two inches
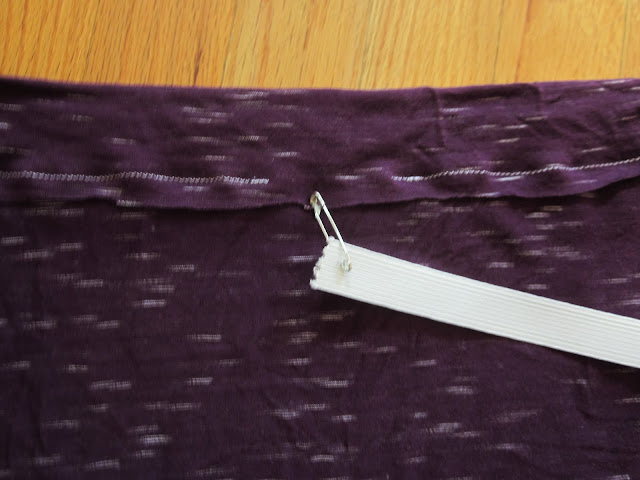
Place a safety pin in the elastic and thread it through the waist band


When the elastic is completely threaded through overlap it by 2 inches and sew the elastic together using a straight stitch, make three different lines of stitching to ensure the elastic is secure


Fold the fabric back over the elastic and sew up the remaining inch and half of fabric

Turn inside out... and wear!

Sunday, June 3, 2012

DIY: Fabric Covered Headbands

For some reason I just love headbands, maybe because I'm extremely lazy when it comes to styling my hair. In any event, I have this one jcrew headband that I absolutely can't live without, so when brainstorming for new craft projects, I figured recreating something just like it would be very useful

This is how my version turned out!


I can't express how easy this is to make, you can whip it up in under 10 minutes.
Here's what you'll need:
16" by 3" piece of fabric
plain headband 33 mm (1 3/4in)(I ordered a bunch off etsy.com)
scissors
double sided clear tape (you can buy this at a hardware store)

1. Cut a piece of fabric 16" by 3"
2. Cover the top of the headband with double sided tape
3. Figure out where the middle of your fabric is and line it up to the middle of the headband, press into place, then gently smooth out the fabric on the top of the headband


4. Place tape on the bottom insides of the headband, fold over your fabric
5. Cover the underside of the headband with double sided tape
6. Fold over fabric pressing and smoothing as you go


7. do the same to the other side
8. Complete!